

PLANTBOT · LOCAL GUIDE
PlantBot User Guide
Ten chapters covering first setup and daily care. Chapter illustrations are being prepared.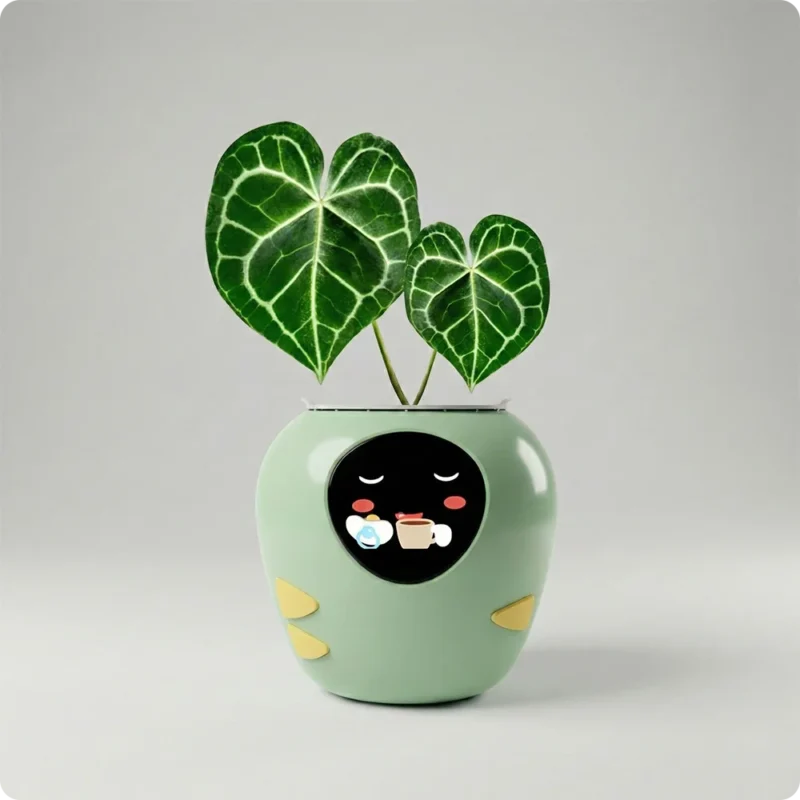
01 · GUIDE
Unbox and inspect the inner pot
Check PlantBot PB-00, inner pot, Type-C cable and guide. Inspect the shell, port and pot for damage.Remove transport packaging and seat the inner pot securely before preparing soil or a plant.
Support the base when moving a filled pot; do not lift the device by the plant. Photograph transport damage and contact support.
Guide image coming soon
02 · GUIDE
Choose a location
Choose a stable, level indoor surface away from rain, splashes, flames and exposed edges.The customer guide recommends 5–35°C. Match light to the plant species while avoiding prolonged heat exposure for the device.
Leave room for checking the plant, watering and charging. Do not trap the cable beneath the pot or use a persistently damp location.
Guide image coming soon
03 · GUIDE
Type-C charging
Connect the supplied Type-C cable to a compatible 5 V USB source. Check that the port is dry and free of soil.Charge before first setup with ventilation around the device. Observe its screen feedback before continuing to mode or network setup.
If it does not respond, check power and cable, then disconnect for about 10 seconds and reconnect. Stop using it if damaged or unusually hot.
Guide image coming soon
04 · GUIDE
Choose a growth mode
Choose Seed, Cuttage or Plant mode according to the current growth stage.For seeds, focus on warmth and suitable moisture; for cuttings, stable rooting conditions; for established plants, ongoing observation and care.
Change mode when the growth stage changes. A mode does not replace species-specific knowledge or mean the device waters automatically.
Guide image coming soon
05 · GUIDE
Connect Tuya Smart
Install Tuya Smart from your phone’s official app store and allow the access required for adding a device.Keep the phone, PlantBot and router nearby. Start Add Device in the app and follow its current instructions.
Use 2.4 GHz Wi-Fi; a 5 GHz-only network cannot complete pairing. Check the selected network before entering its details.
Guide image coming soon
06 · GUIDE
Read the feedback
Read expressions and app feedback alongside the actual leaves, soil and environment, rather than watering from a single icon.If feedback seems inconsistent, check the selected mode and then light, temperature and soil moisture.
Observe changes after adjusting conditions. Plant health also depends on species, soil and pests; the device cannot guarantee survival.
Guide image coming soon
07 · GUIDE
Water without spilling
Choose the amount of water from species needs and actual soil conditions. Check that water is needed to avoid repeated watering.Move the charging cable clear before watering and keep water away from openings and the Type-C port. Do not overfill the inner pot.
If water spills, stop charging and dry the exterior. Reconnect power only when the port and surrounding area are completely dry.
Guide image coming soon
08 · GUIDE
Cleaning and repotting
Unplug power before wiping the exterior with a soft cloth. Do not immerse the whole device or use solvents.Keep soil out of the port and avoid inserting sharp tools into openings. Prevent wet soil entering the electronic housing when handling the inner pot.
After repotting, seat the inner pot securely, check the growth stage and adjust mode, then observe subsequent feedback.
Guide image coming soon
09 · GUIDE
Network and app checks
For pairing failure, check 2.4 GHz band, password and signal, then restart the app’s add-device flow near the router.After changing router or network, follow the current Tuya Smart network settings. Do not guess a long-press duration or reset combination.
App screens may change between versions. Read update prompts, maintain charge and note the current mode and plant settings first.
Guide image coming soon
10 · GUIDE
Troubleshooting and support
For a blank display or power failure, check the 5 V source, Type-C cable and a clean, dry port before proceeding.For unusual feedback, compare Seed, Cuttage or Plant mode with actual soil, light and temperature. Check network separately for app connection issues.
Stop use for persistent faults, unusual heat or damage. Contact website support with model, symptoms, versions and photos instead of opening the device.
Guide image coming soon
NEED MORE HELP?